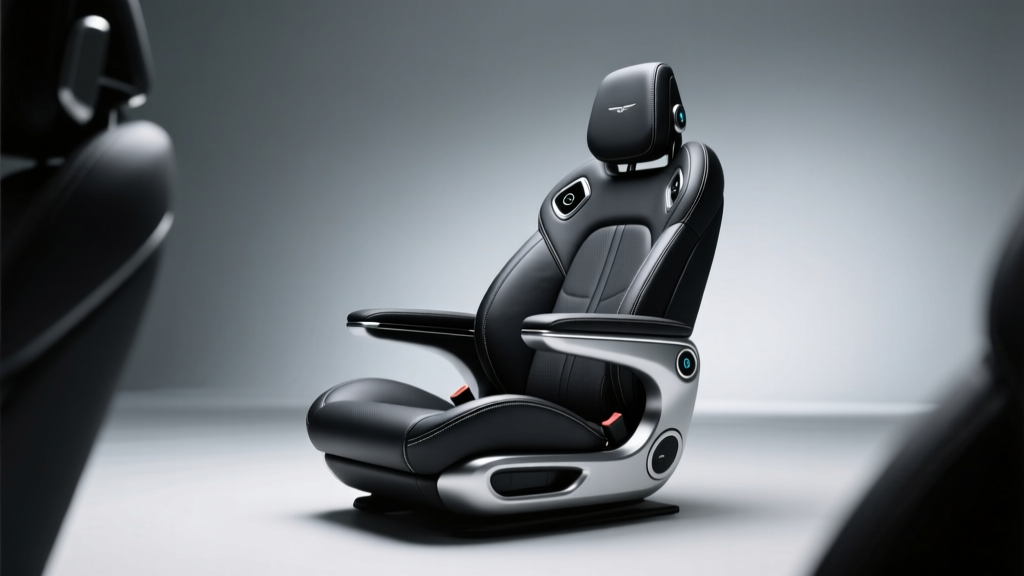
Posture Corrector Seat Customization (2026)
If you?ve ever stepped out of your car with a stiff lower back, tight shoulders, or that ?compressed? feeling in your hips, your seat setup is probably working against you. Modern vehicles give you plenty of adjustments, but most drivers still sit in a way that encourages slouching, forward head posture, and uneven pressure on the pelvis. Over time, those small habits can turn a comfortable cabin into a daily discomfort machine.
Posture corrector seat customization isn?t about making the seat ?firm? or forcing your spine into a rigid position. It?s about building supportive contact points?pelvis, lumbar, mid-back, shoulders, and head?so your body can relax while you drive. Done right, you?ll notice less fatigue on long trips, more precise steering control, and fewer aches after commuting.
This guide breaks down advanced techniques that go beyond basic ?raise the seat and sit up straight? advice. You?ll learn how to tune angles, add targeted lumbar and pelvic support, evaluate materials, and avoid common mistakes?using tools and products that real car owners can install without turning their interior into a science experiment.
What ?Posture Corrector? Seat Customization Really Means
For car interiors, ?posture corrector? usually refers to add-ons and adjustments that guide your body into a neutral driving posture while still allowing natural movement. The goal is balanced support, not restraint.
Signs your current setup needs help
- You feel lower-back pressure after 20?30 minutes.
- Your shoulders creep forward and your neck cranes toward the wheel.
- Your right hip or leg feels more tired than the left (common in stop-and-go traffic).
- You constantly ?readjust? in the seat to find comfort.
- Your upper back doesn?t contact the seatback, even when sitting upright.
The posture targets to aim for
- Pelvis neutral: not tucked under (posterior tilt) and not overly arched (anterior tilt).
- Supported lumbar curve: gentle pressure, not a hard bump.
- Ribs stacked over pelvis: reduces slouching and shoulder rounding.
- Head balanced: headrest supports the head without pushing it forward.
Pre-Customization Checklist: Set Your Baseline First
Before buying cushions or straps, lock in a solid baseline with your existing seat. Many discomfort issues disappear when angles are corrected.
Step-by-step: baseline posture setup (10 minutes)
- Park on level ground and remove bulky items from back pockets (wallets are notorious for tilting the pelvis).
- Set seat height so your hips are roughly level with, or slightly higher than, your knees. This helps prevent pelvic tuck.
- Adjust seat distance so you can fully press the brake with your heel on the floor and a slight bend in your knee.
- Set seat pan tilt (if available): aim for a neutral thigh support. Too much ?nose up? cuts circulation; too much ?nose down? encourages sliding and slouching.
- Recline angle: most drivers do well around a mild recline (roughly 100?110 degrees). Too upright increases spinal compression; too reclined encourages forward head posture.
- Steering wheel reach and height: shoulders relaxed, elbows slightly bent. If you must reach, you?ll round your upper back no matter what cushion you buy.
- Headrest position: center of the headrest near the back of your head, not your neck. Keep the gap small without pushing your head forward.
Real-world example: Drivers in compact cars often sit too close and too upright because the cabin feels tight. Moving the seat back one ?click,? increasing wheel reach, and reclining slightly can reduce neck tension more than any lumbar pillow.
Advanced Customization Techniques (Beyond Basic Lumbar Pillows)
1) Pelvic stabilization: the ?hidden? posture upgrade
Most posture problems start at the pelvis. If your pelvis rolls backward, your lower back flattens and your upper back rounds. A lumbar cushion alone can?t fix that if your hips are unstable.
- Anti-slip seat base layer: Add a thin, grippy pad (rubberized mesh) under your seat cover or cushion to reduce sliding.
- Ischial support tuning: Use a thin wedge cushion (or a cushion with raised rear support) to keep your sit bones supported and discourage slouching.
- Left-right leveling: If you feel twisted, check for uneven cushion thickness or a tilted seat base. Some drivers unknowingly sit on one hip due to a seam, phone, or worn bolster.
2) Dynamic lumbar support: firm enough to guide, soft enough to forget
Advanced lumbar customization means matching shape and pressure to your spine. Too much pressure can cause muscle guarding; too little does nothing.
Options:
- Inflatable lumbar bladder: Best for fine-tuning. Add air until you feel contact, then release slightly.
- Memory foam lumbar cushion: Comfortable and stable; choose one with a defined contour rather than a flat pillow.
- Adjustable strap-mounted lumbar: Helps keep position consistent if multiple drivers share the car.
Pro tip: The lumbar support should fill the curve above your belt line, not jam your lower spine at the tailbone area.
3) Thoracic (mid-back) support for shoulder alignment
Many drivers chase lumbar comfort while ignoring the mid-back. If your thoracic spine is unsupported, your shoulders round and your neck strains to keep eyes forward.
- Add a thin thoracic pad (often 1?2 cm) higher than the lumbar pad, between shoulder blades.
- Use a seatback cushion with segmented zones (lumbar + thoracic) rather than one oversized pillow.
- Check shoulder contact: you want gentle seatback contact without forcing the shoulders forward.
4) Headrest geometry: stop forward-head posture at the source
Even a perfect lumbar setup can fail if the headrest pushes your head forward, common in some modern cars designed for crash protection.
- Adjust headrest height first. If the headrest is too low, it contacts your neck and promotes a forward chin position.
- Consider a slim headrest pad only if you have a gap and your head ?floats? backward. Avoid thick pads that push your head forward.
- If your headrest is aggressively forward and non-adjustable, prioritize seat recline and thoracic support rather than adding thickness behind your head.
5) Micro-vibration and pressure management for long drives
Posture isn?t just angles?it?s also fatigue. High pressure points and road vibration increase muscle tension, which leads to slouching.
- Gel + foam hybrid cushions: reduce pressure hotspots, especially for drivers with tailbone sensitivity.
- Breathable 3D mesh covers: help with heat buildup that causes constant shifting.
- Bolster gap fillers (between seat and center console) reduce ?leaning? habits and keep hips centered.
Step-by-Step: Build a Custom Posture Corrector Setup (Layer Method)
This process helps you avoid the common mistake of stacking random cushions until your driving position becomes unstable.
Step 1: Lock in your baseline adjustments
- Seat height, distance, recline, steering wheel reach/height, and headrest position.
Step 2: Add pelvic stability (one change at a time)
- Install an anti-slip layer or thin seat base pad.
- Drive for 15?20 minutes.
- Confirm you?re not sliding forward during braking.
Step 3: Add lumbar support and tune pressure
- Position lumbar support so it contacts the natural curve above the belt line.
- If inflatable, inflate until you feel support, then release 10?20%.
- Drive and check: do you feel more relaxed breathing and less urge to slouch?
Step 4: Add thoracic support only if needed
- Place a thin pad mid-back to encourage upright shoulder position.
- Avoid thick padding that forces your shoulders forward.
Step 5: Re-check steering reach
Adding cushions changes your distance to the wheel and pedals. After installation:
- Reconfirm slight knee bend at full brake press.
- Reconfirm relaxed shoulders and bent elbows.
Step 6: Validate on your real route
Test on the commute you actually do?stop-and-go, highway, or twisty roads. A setup that feels great in the driveway can fail when you?re using pedals and turning frequently.
Product Recommendations and Comparisons (What Works Best for Most Cars)
Rather than chasing a single ?best posture corrector,? choose based on your main issue: sliding, lumbar fatigue, or upper-back tension.
Best for adjustability: inflatable lumbar support
- Why it works: lets you dial in pressure day-to-day (great if your back sensitivity changes).
- Look for: low-profile bladder, durable pump, secure straps that don?t slip.
- Ideal for: shared vehicles and long-distance drivers.
Best for stability: contoured memory foam lumbar cushion
- Why it works: consistent shape; no pumping; usually comfortable against the spine.
- Look for: breathable cover, medium firmness, contoured ridge that isn?t overly aggressive.
- Ideal for: daily commuters who want ?set it and forget it? support.
Best for tailbone/hip discomfort: gel-foam seat cushion
- Why it works: reduces pressure points and can help keep the pelvis neutral.
- Look for: anti-slip bottom, not too thick (overly tall cushions can ruin pedal ergonomics).
- Ideal for: drivers who feel numbness or hot spots on longer drives.
Best for heat and posture drift: breathable seat cover + anti-slip layer
- Why it works: less sweat and shifting equals more consistent posture.
- Look for: 3D mesh, secure anchoring, compatibility with side airbags (labeled ?airbag compatible?).
- Ideal for: warm climates and vehicles with slippery upholstery.
Common Mistakes to Avoid
- Overcorrecting lumbar support: If the cushion feels ?strong,? your back muscles may fight it. Aim for gentle contact.
- Buying the thickest seat cushion available: Raising your hips too much can mess with steering wheel alignment and pedal control.
- Ignoring steering wheel reach: If you?re reaching, you?ll round your shoulders no matter how good your seatback support is.
- Stacking multiple cushions without testing: Add one element, drive, then adjust.
- Blocking seat airbags with non-compatible covers: Only use seat covers clearly designed for side-airbag seats.
- Masking a worn-out seat: If the foam is collapsed or the frame sags, add-ons may help temporarily, but the seat may need repair or replacement.
Practical Tips from Real-World Driving
- Two-minute reset at stoplights: gently tuck chin, relax shoulders, feel pelvis evenly on the seat, then breathe out and let ribs stack over hips.
- Use cruise control wisely: On long highway drives, cruise control can reduce right-leg fatigue, making it easier to stay centered.
- Keep footwear consistent: Switching between thick boots and thin sneakers changes pedal reach and can alter hip position.
- Don?t drive on a phone ?tilt?: A phone in the back pocket can create a pelvic twist that no lumbar cushion can fix.
- Re-tune seasonally: Thick winter jackets change your seatback contact and headrest distance?expect to adjust.
FAQ: Advanced Posture Corrector Seat Customization
1) Can a posture corrector cushion fix back pain permanently?
A cushion can reduce driving-related strain and improve comfort, but it won?t ?cure? every cause of back pain. Think of it as improving your daily ergonomics. If pain is persistent or severe, consider medical guidance alongside seat adjustments.
2) What?s better: a lumbar cushion or an inflatable lumbar bladder?
If you want fine control and share the car with other drivers, inflatable usually wins. If you want stable comfort with minimal fuss, a contoured memory foam lumbar cushion is often the better daily choice.
3) How do I know if my seat cushion is too thick?
Common signs include knees sitting too high, thighs losing contact with the seat, awkward ankle angle on the pedals, or feeling like you?re ?perched? rather than planted. If any of those happen, switch to a thinner cushion or adjust seat height downward (if possible).
4) Will adding cushions affect safety?
It can. Avoid anything that interferes with seatbelt fit, blocks side airbags, or causes you to sit too close to the steering wheel/airbag. Use airbag-compatible seat covers and keep a safe distance from the wheel while maintaining control.
5) My upper back hurts more than my lower back?what should I change first?
Start with steering wheel reach and recline angle, then evaluate thoracic support. Upper-back strain is often a reach/shoulder position problem rather than a pure lumbar issue.
6) How long should I test a new setup before deciding it works?
Give it at least a few drives?ideally one longer trip and a week of commuting. Your body may need a short adaptation period, but sharp discomfort is a sign to reduce support or reposition the cushion.
Next Steps: Build Your Best Driving Posture Setup
Start with your baseline adjustments, then add support in layers?pelvis first, lumbar second, mid-back only if needed. Keep changes small, test on your actual driving routes, and re-check steering wheel reach after every modification. When your seat supports you correctly, you?ll stop chasing comfort and simply drive.
Want more practical interior upgrades and comfort-focused tips? Explore more guides on carinteriormix.com and keep your cabin feeling as good as it looks.